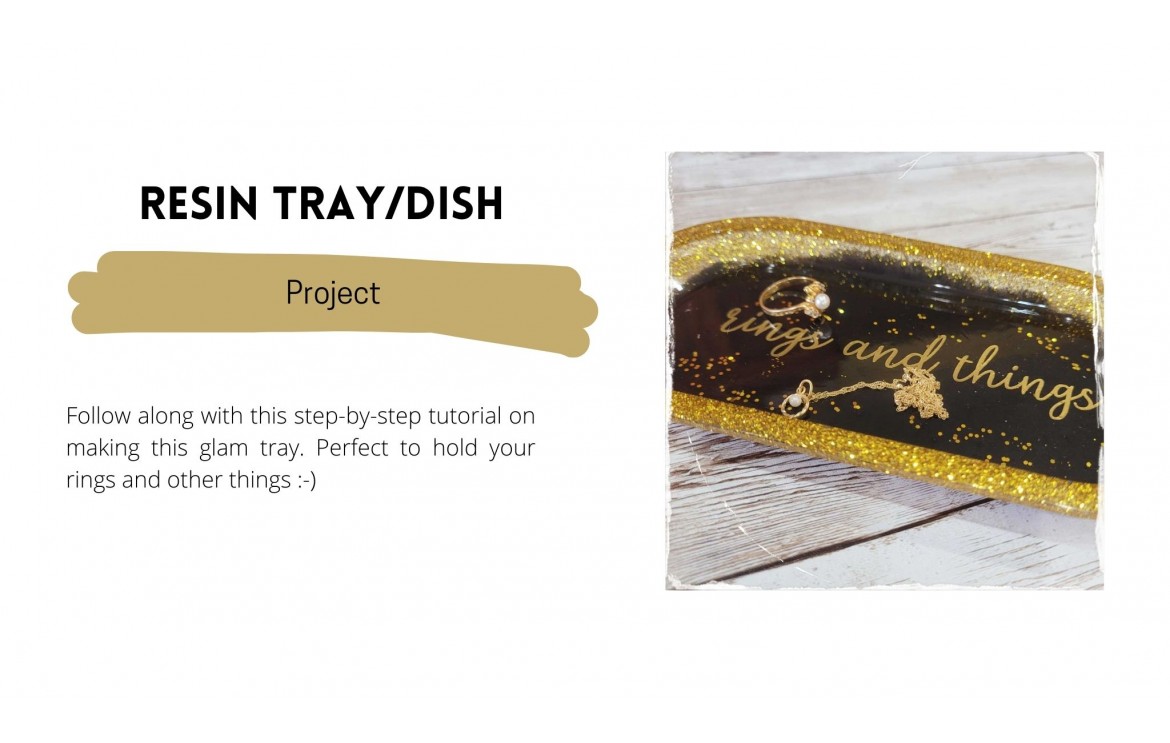
Resin Project - Tray/Dish
Hi everyone. In this blog post we are going to make an exciting and useful resin project. I hope you all like my design for this resin tray/dish. For my tray/dish, I decided to go with black and gold colours, what colour combo would you have used? Let me know.
In the mean time, let’s get into making this.
First the material list.
You will need:
- Epoxy resin (you can use UV resin, but this is a kind of large item so I recommend epoxy to save on expenses)
- Tray/Dish Mold
- Gold glitter, black mica powder (pick your colours)
- Gold vinyl - die cut words (optional)
- Gloves, mask, mixing sticks, mixing container, paper napkins, a flat, level surface
Let’s make this:
- Mix the epoxy resin. I used a two equal part, so I mixed this up. Stir for at least 3-5 minutes to ensure it is combined properly.
- Pour half of the mixed resin into another container. Add the gold glitter to this container and stir to incorporate the glitter. My glitter I would say is mid-chunky,
- Once incorporated, pour the clear glitter resin along the sides of the tray/dish. Try not to get resin on the base portion of the tray/dish. If there are any drips, use a paper napkin to clean up.
- Next, add black mica powder to the other container of clear resin and incorporate.
- Pour the black resin on base portion of the dish in the mold and allow it to merge with the clear glitter resin to form the dish.
- Let the freshly poured resin sit for a couple minutes after pouring. Bubbles will naturally try to rise to the surface so look out for them to pop them. You can use a heat gun to pop them.
- Leave the mold to allow the resin to cure. Usually epoxy might take up to 6 hours.
- Whist the resin cures, die cut the words in gold vinyl and use some transfer tape to prepare for transfer. This is an optional step and if you do have a die cutting machine to facilitate this.
- Once the resin has cured, remove from the mold.
- On the inside of the newly made dish, apply the die cut words and centre in the dish.
- For some extra longevity of the die cut, mix a small portion of the epoxy resin.
- Pour a thin layer of the resin over the die cut words in the dish. You can add glitter or any other embellishments you might like to this layer.
- Allow this new layer of resin to cure.
- Once everything has completely cured, you can now use your new tray/dish.
There you have it guys. Hope you enjoy making this and I actually can’t wait to put “things” in my tray.
Check my other platforms if you would like to see some video recordings of this project and if you make this project be sure to tag me so I can see what you come up with.
Subscribe to the newsletter or follow me on my other platforms so you’re always in the know when a new project has been posted.
Take care
xx Natasha xx
All comments